Installing an Oatey toilet flange is a crucial step in ensuring a secure, leak-proof, and functional connection between your toilet and the plumbing system.
Whether you’re replacing an old flange or installing one in a new bathroom, this guide provides detailed, step-by-step instructions for a seamless installation.
Table of Contents
What is an Oatey Toilet Flange?
An Oatey toilet flange is a circular pipe fitting that connects your toilet to the drain pipe. It’s a crucial component in ensuring a secure and leak-proof plumbing system.
This durable and easy-to-use product is designed to be installed by both DIY enthusiasts and professional plumbers. By anchoring the flange securely to the floor, you can guarantee the longevity and reliability of your toilet installation.
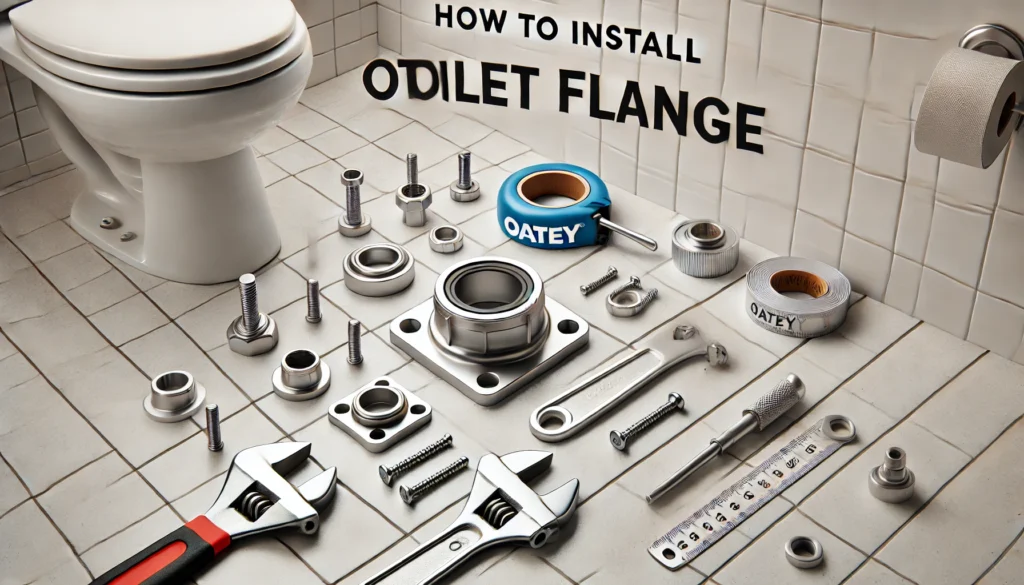
Tools and Materials Needed to install Oatey toilet flange
Before beginning, gather the following tools and materials to ensure a smooth installation process:
Tools:
- Screwdriver (flathead and Phillips)
- Adjustable wrench
- Drill with appropriate bits
- Hacksaw or PVC pipe cutter
- Level
- Tape measure
Materials:
- Oatey toilet flange
- Screws and bolts (often included with the flange)
- Wax ring or rubber gasket
- PVC primer and cement (if applicable)
- Clean rags or towels

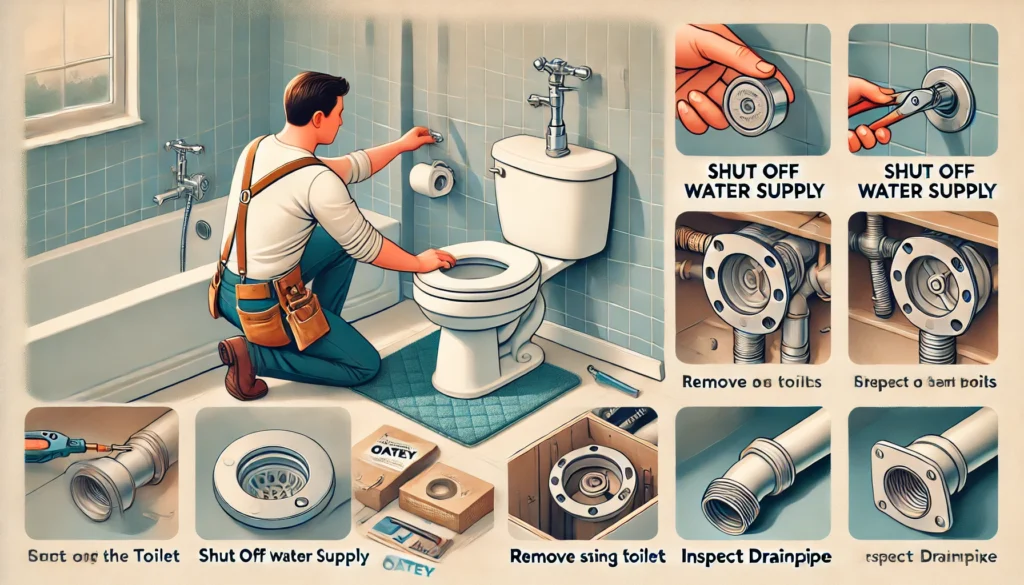
Preparation Before Installation of Oatey toilet flange
1. Shut Off Water Supply
Before embarking on the installation of an Oatey toilet flange, it’s crucial to shut off the water supply to the toilet. The shut-off valve is typically located behind or near the toilet. Once the valve is closed, flush the toilet to empty the tank and bowl. Use a sponge or towel to remove any remaining water.
2. Remove the Existing Toilet (If Replacing a Flange)
Before you lift the toilet off the floor, it’s crucial to unscrew the bolts that hold it in place. To avoid damaging the floor, place a padded surface beneath the toilet’s base.
Once the bolts are removed, carefully lift the toilet and set it aside. Next, you’ll need to scrape off the old wax ring from the drainpipe.
3. Inspect the Drainpipe
Before installing the Oatey toilet flange, it’s crucial to examine the drainpipe for any signs of damage or obstructions. A damaged or obstructed pipe can hinder proper seal and compromise the installation. Thoroughly clean the area surrounding the drainpipe to ensure a smooth installation process.
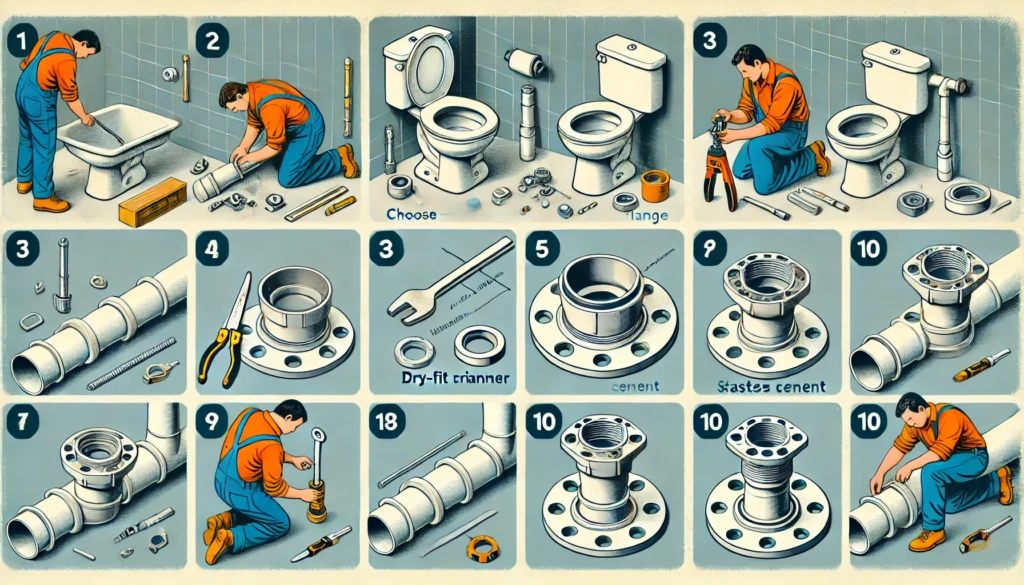
Step-by-Step Installation of an Oatey Toilet Flange
Step 1: Choose the Right Type of Flange
A crucial step in toilet installation is selecting the right flange. Oatey provides a variety of flanges made from durable materials like PVC, cast iron, and stainless steel.
Your choice should align with your plumbing system’s specific needs, considering factors such as your home’s age, the toilet type, and pipe material.
Step 2: Dry-Fit the Flange
Before fitting the flange, dry-fit it over the drainpipe. Align the mounting slots with the floor surface holes and adjust as needed. Secure it temporarily with toilet bolts to ensure a proper seal for a successful flush.
Step 3: Cut the Drainpipe (If Necessary)
If your drainpipe extends past the floor level, trim it to the desired length. Use a hacksaw or PVC cutter to make a clean, even cut. Clean the cut edge to prevent leaks.
Step 4: Secure the Flange to the Floor
To secure the flange, drill pilot holes into the floor to prevent cracking. Position the flange over the drainpipe and level it. Finally, insert screws through the flange and tighten them into the floor.
Step 5: Apply PVC Primer and Cement (For PVC Flanges)
To create a strong, watertight seal between the PVC flange and drainpipe, apply PVC primer to both surfaces. Let it dry. Then, apply PVC cement and press the pipe into the flange hub. Hold it firmly until the cement cures.
Step 6: Insert Toilet Bolts
Now, it’s time to secure your new toilet to the flange. Insert the toilet bolts into the toilet mounting holes. Ensure they’re evenly spaced and upright. These bolts will pass through the mounting slots of the flange.
Step 7: Install the Wax Ring or Gasket
Once you’ve secured the flange to the floor, it’s time to prepare for the toilet installation. A crucial step in this process involves installing a wax ring or rubber gasket.
This component acts as a seal between the toilet base and the flange, preventing any potential leaks and ensuring the integrity of your plumbing system.
Step 8: Reinstall the Toilet
To reinstall the toilet, first apply a new wax ring to its bottom. Then, carefully lower it onto the flange, aligning the mounting holes. Insert the bolts and tighten them. Press down firmly to seal the toilet to the flange.
Step 9: Secure the Toilet
To ensure a secure installation, carefully tighten the bolts connecting the toilet to the flange. Use a wrench to tighten the nuts on the bolts. Overtightening can damage the porcelain of the toilet or the flange. Tighten the nuts just enough to firmly secure the toilet.
Step 10: Reconnect the Water Supply
To restore water supply, locate the shut-off valve under the toilet tank. Turn the valve clockwise to shut off the water. Disconnect the flexible water supply line from the tank’s inlet valve.
Inspect the line for damage and replace it if necessary. Reconnect the line to the inlet valve tightly. Turn the valve counterclockwise to turn the water back on. Flush the toilet a few times to check for leaks at the base.
Common Mistakes to Avoid
One of the most common pitfalls during Oatey toilet flange installation is neglecting a level check. A wobbling toilet or alignment issues can lead to leaks and suboptimal performance. Ensure the flange is securely fastened to the floor with tight screws to prevent loose screws that can compromise the seal.
Additionally, the flange height must be adjusted correctly to ensure the wax ring creates a perfect seal between the toilet and the finished floor. By addressing these potential issues, you can guarantee the optimal performance of your new toilet.
Maintenance Tips for Longevity
To ensure your Oatey toilet flange remains robust and leak-free, it’s crucial to prevent excessive weight and impact on the toilet and flange. Avoid placing heavy objects on the toilet or leaning against it with significant force.
Regularly inspect the flange for signs of wear and damage, such as cracks or rust. If you notice any issues, replace the flange promptly to prevent potential leaks and damage to your flooring and subfloor.
Check Similar Guide: How to Empty a Composting Toilet: A Step-by-Step Guide!
Conclusion
Installing a toilet flange might seem daunting, but with the right tools, materials, and a bit of know-how, it’s a straightforward project that even a DIY enthusiast can tackle. The key to a professional-grade installation lies in careful preparation and attention to detail.
Oatey toilet flanges are designed to provide a leak-free, secure, and long-lasting connection between your toilet and the drainpipe. To ensure a successful installation, gather the necessary tools and materials.
Follow the specific instructions provided with your Oatey flange, but generally, you’ll need to cut the old flange, clean the drainpipe, and secure the new flange in place.
By following these techniques and paying close attention to the details, you can confidently complete this plumbing task and enjoy a well-functioning toilet for years to come.
Frequently asked Questions
What is an Oatey toilet flange, and why is it important?
An Oatey toilet flange is a pipe fitting that connects a toilet to the drainpipe while anchoring it securely to the floor. It ensures a leak-proof seal and proper alignment, preventing odors and water damage.
Can I install an Oatey toilet flange on my own?
Yes, Oatey toilet flanges are designed for ease of installation, making them suitable for both DIY enthusiasts and professional plumbers. Following step-by-step instructions and using the right tools can help you complete the project efficiently.
How do I know which Oatey flange type to use?
Choose a flange based on your plumbing system and flooring. For PVC drainpipes, use a PVC flange. For cast iron pipes, opt for a cast iron or adjustable flange. Check product specifications to ensure compatibility.
What tools are needed to install an Oatey toilet flange?
You’ll need a screwdriver, adjustable wrench, hacksaw or PVC cutter, drill, level, and tape measure. For PVC installations, PVC primer and cement are also required.
Should the Oatey toilet flange sit flush with the floor?
Yes, the flange should sit flush with the finished floor surface for optimal sealing and alignment with the toilet. If it’s too high or low, adjustments may be needed.
Can I reuse the old wax ring when replacing the flange?
No, always use a new wax ring or rubber gasket when replacing a toilet flange. This ensures a proper seal and prevents leaks.
How do I remove an old toilet flange?
Unscrew or pry off the old flange, depending on how it’s secured. For glued or stuck flanges, use a chisel or saw to carefully break it apart. Clean the area thoroughly before installing the new flange.
What should I do if the drainpipe is damaged?
If the drainpipe is cracked or severely damaged, it may need repair or replacement. Consult a professional plumber if the damage is extensive or beyond your expertise.
Do I need to use PVC primer and cement for every installation?
PVC primer and cement are necessary only when installing a PVC flange. These materials create a strong, watertight bond between the flange and the PVC pipe.
How tight should I secure the toilet bolts?
Tighten the toilet bolts until the toilet is snug and doesn’t wobble, but avoid overtightening, as this can crack the porcelain or damage the flange.
Can an Oatey flange be adjusted after installation?
Certain Oatey flanges, like the twist-and-set models, allow for post-installation adjustments. Check the product manual for specific instructions.
How do I check for leaks after installation?
Reconnect the water supply, flush the toilet, and inspect the base for water seepage. If leaks are present, recheck the wax ring or gasket and ensure the flange is level.
What do I do if the flange is too high or too low?
If the flange is too high, trim the drainpipe or use a spacer ring. If it’s too low, use flange extenders or a thicker wax ring to fill the gap.
How can I maintain a toilet flange to prevent issues?
Inspect the flange periodically for wear or damage. Address any leaks or wobbling promptly to prevent further complications. Avoid exposing the flange to excessive weight or impact.
What are the signs that a toilet flange needs replacement?
Signs include persistent leaks at the base of the toilet, wobbling or instability, foul odors, or visible cracks in the flange. Replacing the flange promptly can prevent further damage to your bathroom flooring