Dealing with mold on the caulking in your bathroom can be a frustrating experience. Not only does it look unsightly, but it can also pose health risks if not addressed properly. Mold thrives in damp, warm environments, making your bathroom an ideal breeding ground.
This comprehensive guide will walk you through the steps to effectively remove mold from bathroom caulking, ensuring your space remains clean and healthy.
Table of Contents
Understanding Mold on Bathroom Caulking
What Causes Mold on Caulking?
Mold growth on bathroom caulking is a common problem. Hot showers, poor air circulation, and lack of ventilation create the perfect environment for mold spores to thrive. To prevent mold, ensure good bathroom hygiene and address any signs of growth promptly.
Health Risks Associated with Mold
Mold exposure can lead to a variety of health issues, particularly for individuals with respiratory problems or allergic reactions.
Prolonged exposure to mold can exacerbate existing asthma conditions and trigger new ones. To maintain a healthy indoor environment, it’s crucial to address mold growth promptly and effectively.
Tools and Materials Needed
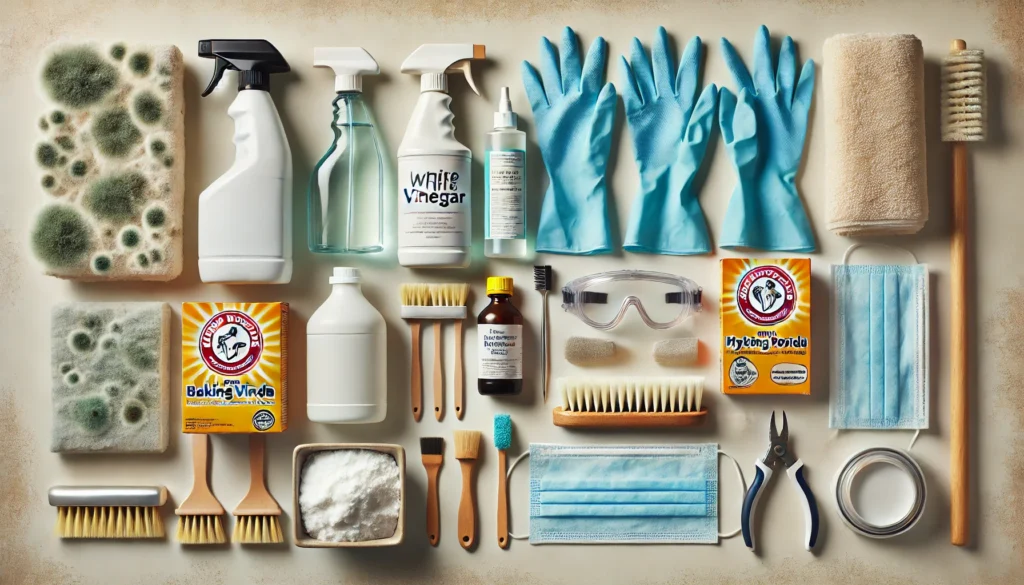
Before you begin the removal process, ensure you have the following tools and materials:
- White vinegar
- Baking soda
- Hydrogen peroxide (3% solution)
- Spray bottle
- Protective gloves
- Safety goggles
- Face mask
- Soft-bristled brush or old toothbrush
- Microfiber cloth or sponge
Step-by-Step Process Remove Mold from Bathroom Caulking
Step 1: Safety First
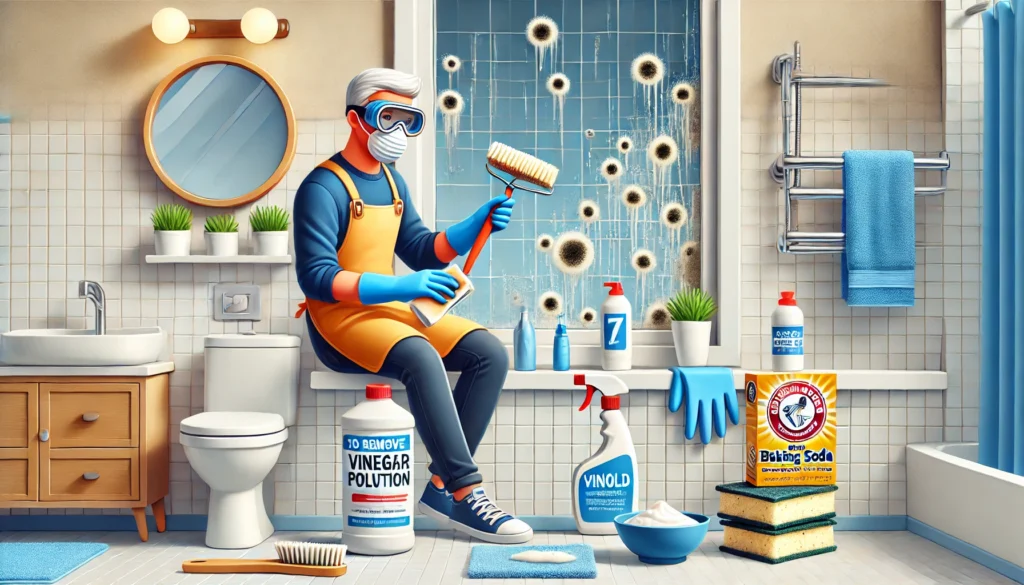
Before you begin, prioritize your safety. Don a pair of rubber gloves to protect your hands from irritating cleaning agents and potential mold exposure.
To shield your eyes and respiratory system, wear goggles and a face mask. This will help prevent the inhalation of harmful mold spores.
Step 2: Initial Cleaning
Before you begin deep cleaning your bathroom caulk, you’ll need to remove any loose mold particles. To do this, gently wipe the affected area with a microfiber cloth.
This will help to prevent the mold spores from spreading further. Once the loose particles have been removed, you can proceed to the next step.
Step 3: Applying the Cleaning Solution
To tackle stubborn mold stains, mix equal parts white vinegar and water in a spray bottle. Spray the moldy caulking generously, let it sit for 10 minutes, and scrub gently with a soft-bristled brush.
For extra stubborn stains, create a paste with baking soda and water, apply it, and let it sit for 15-20 minutes before scrubbing. This process not only eliminates current mold but also prevents future growth.
Step 4: Scrubbing
Now, gently scrub the softened mold with a soft-bristled brush or toothbrush. Focus on crevices and corners. For stubborn mold, reapply the cleaning solution and scrub vigorously. Be patient and persistent. As you scrub, the mold should lift off, leaving clean caulking.
Step 5: Rinse and Dry
Thoroughly clean the area after removing the mold and caulk. Rinse with clean water and dry completely with a clean towel. Eliminating moisture is crucial to prevent future mold growth.
Step 6: Applying Hydrogen Peroxide
Spray the moldy caulk with a 3% hydrogen peroxide solution. Let it sit for 10 minutes, then wipe clean. The peroxide will bleach the mold stains.
Preventing Future Mold Growth
Improve Ventilation
To prevent mold growth, enhance ventilation in moisture-prone areas. Use exhaust fans in bathrooms to expel moisture-laden air. Open windows for natural airflow. These simple steps can significantly reduce humidity levels and deter mold growth.
Regular Cleaning
To prevent future mold growth, regular cleaning is essential, especially in damp areas like the bathroom. Mold spores are constantly settling and can quickly grow in humid environments. Using mold-inhibiting products during cleaning can help to reduce the risk of infestations.
Use a Dehumidifier
To prevent future mold growth, especially in high-humidity areas like the bathroom, consider using a dehumidifier. These devices effectively reduce moisture levels in the air, inhibiting mold growth and creating a healthier indoor environment.
When to Replace Caulking
While a thorough cleaning process can often eradicate mold from old caulking, sometimes, the damage runs deep.
If the mold penetration is significant, or the caulking itself is damaged and old, it’s time to replace it. Removing and applying new caulking offers a fresh start and ensures a mold-free environment.
Check Similar Guide: Why Does My Bathroom Sink Smell Like Sewer? Causes and Solutions
Conclusion
Mold in your bathroom caulking can be a serious health hazard. It can trigger allergies, asthma, and other respiratory problems. Fortunately, you can eliminate this issue with a few simple steps.
First, assess the extent of the mold infestation. If the mold is superficial, you can clean it with a mixture of bleach and water.
However, if the mold has penetrated deep into the caulking, it’s best to replace it entirely. Thorough cleaning of the affected area is crucial to prevent mold recurrence.
Regular maintenance is key to keeping your bathroom mold-free. Environmental control plays a significant role.
Ensure proper ventilation, reduce humidity, and promptly address any water leaks. By following these preventive measures, you can create a clean, healthy environment in your bathroom.
Frequently asked Questions
How do I know if the mold in my bathroom is harmful?
Mold in your bathroom can be harmful as it potentially releases spores that cause allergic reactions, respiratory issues, and other health problems, especially in sensitive individuals. If you see significant mold growth, it’s advisable to remove it promptly or consult a professional for assessment.
What is the best natural cleaner for removing mold?
White vinegar is one of the best natural cleaners for mold. Its acidic nature helps break down mold and prevent future growth. Apply it directly or diluted to the affected area and let it sit before scrubbing.
Can I use bleach to clean mold off bathroom caulking?
While bleach is effective at removing mold stains and discoloration, it does not penetrate surfaces to kill mold at the root, especially in porous materials like caulking. It’s better to use vinegar or hydrogen peroxide for a deeper clean.
How often should I clean my bathroom to prevent mold?
To prevent mold, clean your bathroom at least once a week. Focus on drying out areas prone to moisture and use an anti-mold cleaning agent for best results.
Why does mold grow on bathroom caulking?
Mold grows on bathroom caulking due to constant exposure to moisture and inadequate ventilation. These conditions create a perfect breeding ground for mold spores to settle and proliferate.
What should I wear when cleaning mold?
When cleaning mold, wear protective gloves, a face mask, and safety goggles to protect yourself from exposure to mold spores and cleaning chemicals.
How do I improve ventilation in my bathroom to prevent mold?
Improve bathroom ventilation by using an exhaust fan, opening windows during and after showers, and keeping doors open when possible to reduce moisture.
Can mold come back after cleaning?
Yes, mold can return if the underlying issues of moisture and poor ventilation are not addressed. Regular cleaning and moisture control are essential to keep mold from coming back.
What are the signs that caulking needs to be replaced?
Signs that caulking needs to be replaced include persistent mold growth that cannot be cleaned off, caulking pulling away from surfaces, and visible cracks or gaps.
Is hydrogen peroxide better than vinegar for mold removal?
Hydrogen peroxide is excellent for stubborn mold as it has a mild bleaching effect and can penetrate surfaces slightly better than vinegar. However, vinegar is more eco-friendly and sufficient for most mold removal needs.
How do I make a baking soda paste for mold removal?
Mix baking soda with water to create a thick paste. Apply this paste directly to the mold on the caulking, let it sit for several minutes, then scrub and rinse off.
Can using a dehumidifier help prevent bathroom mold?
Yes, using a dehumidifier can significantly help in preventing bathroom mold by reducing the humidity levels, making the environment less conducive for mold growth.
How long should I leave vinegar on mold before cleaning?
Leave vinegar on the mold for at least an hour before scrubbing. This duration allows the vinegar to break down the mold’s structure and kill it effectively.
What is the safest way to dispose of moldy materials?
Dispose of moldy materials by sealing them in plastic bags before throwing them away. This prevents mold spores from spreading to other areas of your home.
Can I paint over moldy caulking?
It is not advisable to paint over moldy caulking as this only covers up the problem. Remove the mold and the affected caulking completely, clean the area, and replace the caulking before painting to ensure the mold does not continue to grow underneath.
